Welcome to the Mini Sewing Machine Manual! This guide is designed to help you get started with your new machine, ensuring safe and effective use․
1․1 Overview of the Mini Sewing Machine
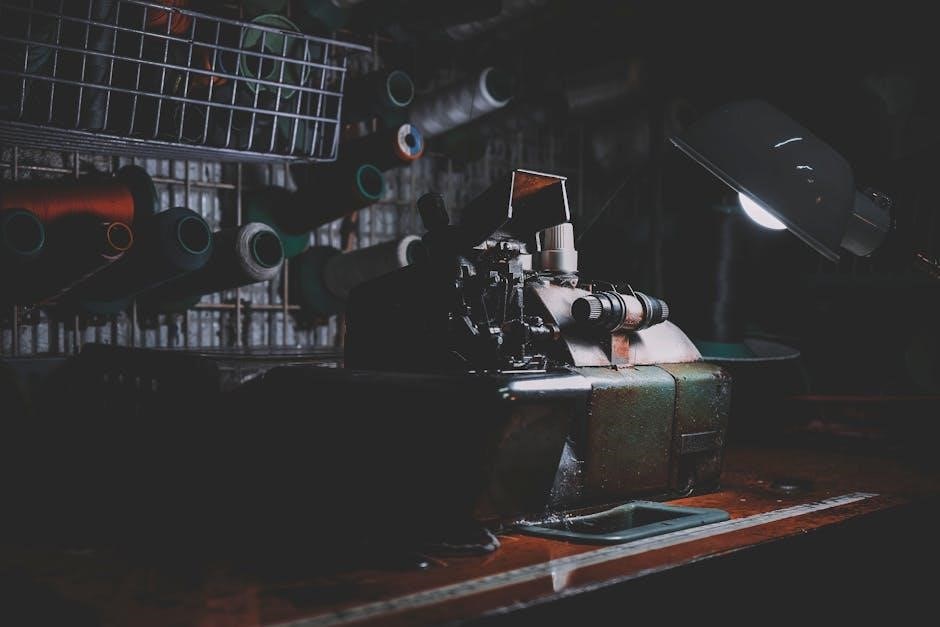
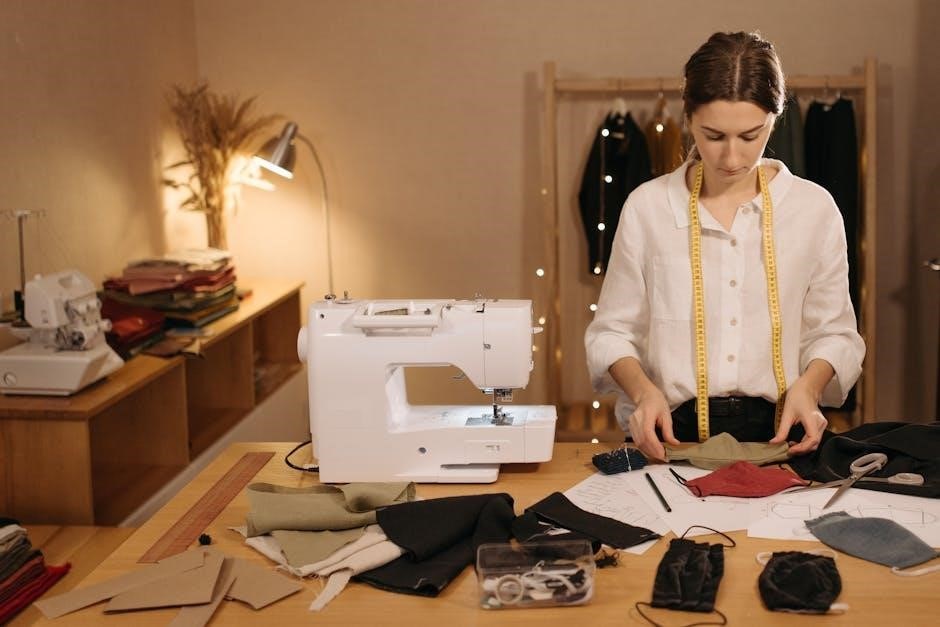
The mini sewing machine is a compact, portable device designed for small-scale sewing projects․ It features essential components like a handwheel, spool pin, and bobbin․ Ideal for beginners, it offers basic stitching options and is lightweight for easy storage․ The machine is perfect for repairing clothes, crafting, or sewing small fabrics, making it a versatile tool for hobbyists and DIY enthusiasts․
1․2 Importance of Reading the Manual
Reading the manual is essential for understanding safety precautions, proper operation, and troubleshooting․ It provides detailed instructions for threading, bobbin winding, and maintaining your mini sewing machine․ The manual also outlines the machine’s features and accessories, ensuring you use it effectively and safely․ By following the guidelines, you can maximize the machine’s potential and avoid common mistakes, making your sewing experience enjoyable and efficient․
1․3 Safety Precautions
Always unplug the machine when not in use and avoid overloading it․ Ensure the work area is clear and well-lit․ Never leave the machine unattended while plugged in․ Keep children away and avoid touching moving parts․ Use only recommended accessories and follow the manual’s guidelines to ensure safe operation and prevent accidents while sewing․
Understanding the Parts of the Mini Sewing Machine
Familiarizing yourself with the machine’s components is essential for effective use․ Key parts include the needle, bobbin, spool pins, and stitch selectors, ensuring smooth sewing operations․
2․1 Identifying Key Components
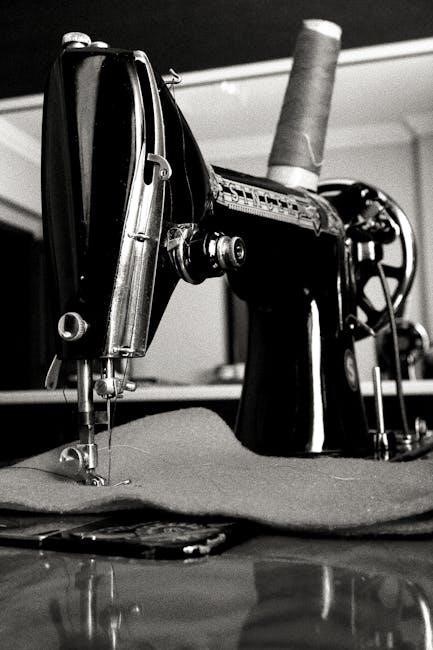
Start by identifying essential parts: the needle, bobbin, spool pins, and stitch selectors․ Locate the handwheel for manual control and the presser foot for fabric guidance․ Understand the thread take-up lever and tension dials for adjusting stitch length and width․ Familiarizing yourself with these components ensures proper operation and troubleshooting․ Refer to the diagram for visual clarity and detailed descriptions of each part and its function․
2․2 Diagram of the Machine
The diagram provides a clear visual guide to the sewing machine’s layout․ It labels key components such as the needle, bobbin, spool pins, and stitch selectors․ Use the diagram to locate the handwheel, presser foot, and thread take-up lever․ This visual reference helps you understand the machine’s structure and ensures proper setup and operation․ Refer to it frequently for identifying parts and their functions․
2․3 Accessories Included
Your mini sewing machine comes with essential accessories to enhance your sewing experience․ These include a zipper foot, extension table, invisible zipper leg, and buttonhole foot․ Additional accessories like a needle feeder, pedal, and sewing kit are also provided․ These tools help you tackle various sewing tasks efficiently․ Always use only the recommended attachments to ensure optimal performance and safety while operating the machine․
Threading and Bobbin Winding
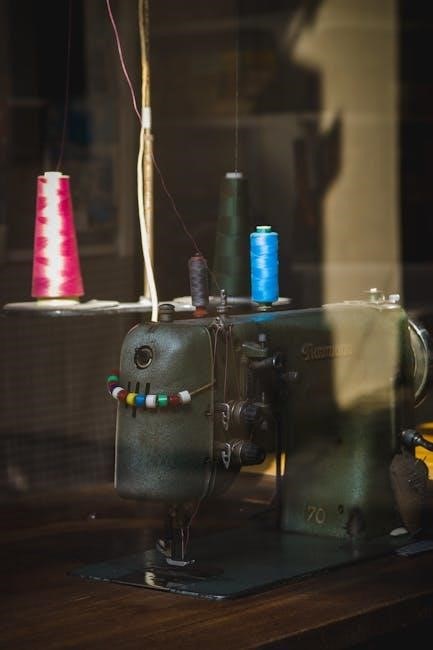
Proper threading and bobbin winding are essential for smooth operation․ Follow the guide to thread the machine correctly, ensuring the thread passes through all tension discs․ Wind the bobbin evenly, avoiding overfilling, and maintain consistent thread tension for optimal stitching results․
3․1 Step-by-Step Threading Guide
Start by turning off and unplugging the machine; Locate the spool pin and draw the thread through the tension discs․ Guide the thread through the take-up lever and insert it into the needle’s eye․ Gently pull the thread to remove any slack․ Ensure the thread is seated correctly in the tension spring for consistent stitching․ Always refer to the manual for specific threading diagrams and instructions to avoid common mistakes․ Proper threading ensures smooth operation and prevents thread breakage․ Keep the thread taut but not overly tight, as this can cause uneven tension․ If unsure, consult the troubleshooting section for solutions to threading issues․ This process is crucial for maintaining the machine’s performance and extending its lifespan․ By following these steps, you can achieve professional-grade stitches with ease․ Remember to rethread the machine if the thread is removed or changed․ This ensures the machine remains calibrated and ready for use․ Always test a few stitches on scrap fabric before starting your project to ensure the thread is properly seated and the tension is correct․ This simple step saves time and prevents potential issues down the line․ Proper threading also helps in maintaining consistent stitch length and width, which is essential for both straight and decorative stitching․ By mastering this step, you can unlock the full potential of your mini sewing machine and tackle various projects with confidence․ Lastly, never thread the machine while it is plugged in or in operation, as this can lead to accidents or damage to the machine․ Safety should always be your top priority when working with any electrical appliance․ By adhering to these guidelines, you can enjoy a seamless and safe sewing experience․ Keep your workspace well-lit to see the threading path clearly, and avoid using damaged or frayed threads, as they can cause further complications․ Taking the time to thread correctly will result in better stitch quality and a more enjoyable sewing experience overall․ This guide is designed to make threading straightforward, even for beginners․ With practice, you’ll find the process becomes second nature, allowing you to focus on your creative projects without interruption․ Happy sewing!
3․2 Proper Bobbin Winding Techniques
Place the bobbin on the winder and draw thread from the spool․ Wind the thread evenly, avoiding overlaps․ Stop when the bobbin is 3/4 full․ Cut the thread and insert the bobbin into the case․ Ensure the thread is seated in the tension spring․ Use the handwheel to lower the needle slightly to test tension․ Proper winding prevents thread breakage and ensures smooth stitching․
3․3 Common Threading Mistakes to Avoid
Common threading mistakes include incorrect thread tension, improper needle installation, and ignoring the machine’s thread path․ Ensure the thread is seated in the tension spring and not twisted․ Avoid pulling the thread too tightly, as this can cause breakage․ Always refer to the manual for the correct threading sequence to prevent issues like uneven stitching or machine jams during operation․
Basic Sewing Operations
Master the fundamentals of sewing with your mini machine, starting with straight stitching and backstitching․ Proper techniques ensure smooth fabric handling and consistent results every time․
4․1 Straight Stitching
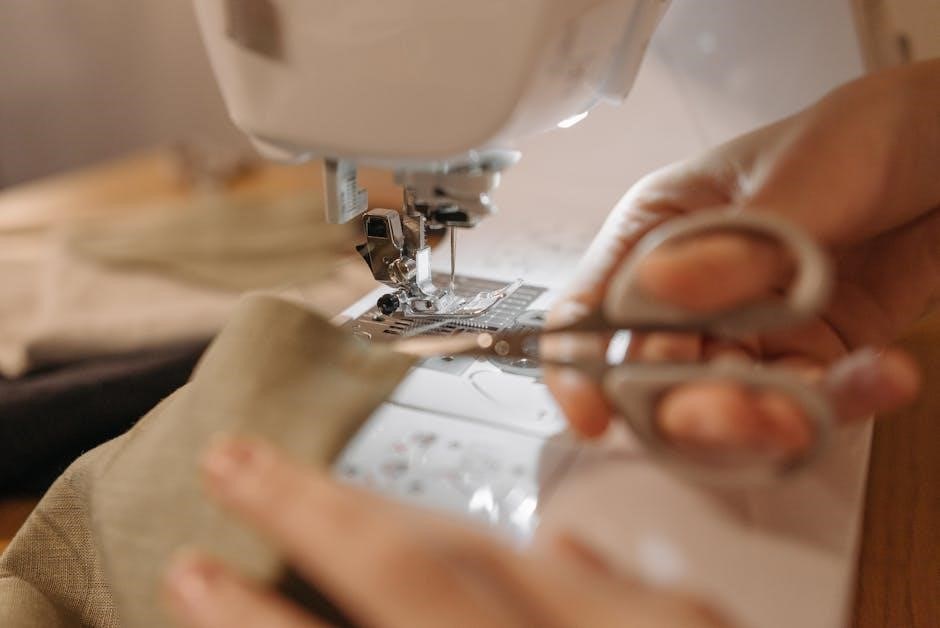
Start with straight stitching, ideal for basic repairs and sewing straight lines․ Thread the machine correctly, ensuring the bobbin is properly wound․ Use a standard needle, with the flat side facing forward․ Maintain even thread tension and practice on scrap fabric first․ Always keep loose clothing tied back and avoid unattended operation for safety․
4․2 Backstitching
Backstitching is essential for reinforcing seams, especially at the start and end of stitching․ Use the reverse stitch function to create strong, secure stitches․ Ensure proper thread tension and guide fabric smoothly․ Practice on scrap fabric to master the technique․ Keep the machine at a steady speed for even results, and always follow safety guidelines to avoid accidents while sewing․
4․3 Basic Maintenance Tips
Regularly clean the machine to remove dust and debris․ Oil moving parts as recommended to ensure smooth operation․ Check thread tension and adjust if necessary․ Replace needles periodically to maintain stitch quality․ Store the machine in a dry place to prevent rust․ Always unplug before cleaning or performing maintenance․ Refer to the manual for specific care instructions tailored to your model․
Advanced Features of the Mini Sewing Machine
Explore advanced stitching options like zigzag and buttonhole, and utilize special feet for versatile sewing projects․ These features enhance creativity and efficiency in your sewing tasks․
5․1 Zigzag Stitching
Zigzag stitching is a versatile feature for decorative edges and stretch fabrics․ Select the zigzag stitch on your mini sewing machine, adjust stitch width, and sew at a steady pace․ This stitch is ideal for preventing fraying and adding creative touches to your projects․ Refer to your manual for specific settings and techniques to achieve professional results․
5․2 Buttonhole Stitching
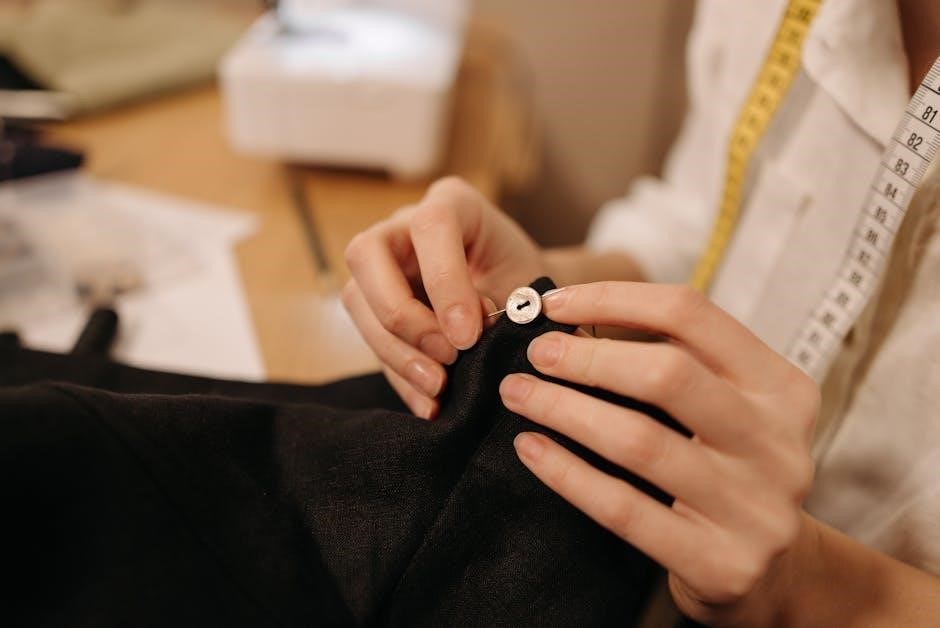
Buttonhole stitching is perfect for creating professional-looking buttonholes․ Use the buttonhole foot for precise results․ Place fabric under the foot, align edges, and select the buttonhole stitch․ The machine will sew a reinforced hole with a zigzag or straight stitch․ Adjust settings for size and density․ Practice on scrap fabric to ensure perfect buttonholes every time․
5․3 Using Special Feet
Special feet enhance your sewing experience by allowing precise control for specific tasks․ The zipper foot is ideal for sewing zippers and thick fabrics, while the buttonhole foot ensures perfect buttonholes․ Use the invisible zipper foot for seamless zipper insertion․ Experiment with optional feet like the walking foot for heavy fabrics or the gathering foot for creative stitching․ Always attach feet correctly for optimal results․
Troubleshooting Common Issues
Identify and resolve common issues like thread breakage, uneven stitching, or the machine not turning on․ Refer to the manual for step-by-step solutions to ensure smooth operation․
6․1 Machine Not Turning On
If the machine fails to power on, ensure it’s properly plugged in and the outlet is functional․ Check the power switch and cord for damage․ Verify the plug is securely connected․ If issues persist, consult the manual or contact customer support for further assistance․ Always unplug the machine when not in use for safety․
6․2 Thread Breakage
Thread breakage can occur due to improper tension, incorrect threading, or using low-quality thread․ Check the thread path for tangles and ensure the needle is correctly installed․ Adjust the tension dials as per the manual․ If the issue persists, try a different thread type or consult the troubleshooting section for detailed guidance․
6․3 Uneven Stitching
Uneven stitching can result from incorrect thread tension, improper threading, or using the wrong needle size․ Ensure the thread is properly tensioned and the machine is threaded correctly․ Use a suitable needle for the fabric type and maintain a steady fabric feed․ Adjusting these factors will help achieve consistent stitching․ Refer to the manual for specific guidance․
Accessories and Attachments
Explore essential accessories like a zipper foot, extension table, and invisible zipper leg for specialized tasks․ Optional needles and attachments expand your creative possibilities․
7․1 Optional Feet
Optional feet like zipper, buttonhole, and invisible zipper legs enhance your sewing experience․ These attachments allow for specialized stitching, making tasks like installing zippers or sewing buttons effortless․ Explore the included accessories to expand your creative possibilities and improve precision in various projects․ Properly attaching and using these feet ensures optimal performance and versatility for different fabric types and sewing techniques․
7․2 Additional Needles
Using the correct needles is essential for optimal performance․ Standard sewing machine needles are recommended, ensuring proper installation with the flat side of the shank facing forward․ Additional needles in various sizes and types are available for different fabrics and stitching needs, enhancing versatility and precision in your sewing projects․ Always choose needles suitable for your specific tasks to achieve professional results․
7․3 Extension Tables
Extension tables are valuable accessories that provide a larger working surface for managing fabrics․ They are ideal for handling larger projects, offering stability and control․ Many mini sewing machines come with detachable extension tables, enhancing versatility․ These tables are easy to attach and remove, making them a convenient addition for various sewing tasks․ They are especially useful for quilting, embroidery, or working with bulky materials, ensuring smooth operation and precision․
Downloading the Mini Sewing Machine Manual
The Mini Sewing Machine Manual is readily available as a PDF download․ Visit the official manufacturer’s website to find the correct version for your model․ Ensure the file is compatible with your device before downloading․ Always verify the manual’s authenticity to avoid unauthorized versions․
8․1 Finding the Correct PDF
To find the correct mini sewing machine manual PDF, visit the official manufacturer’s website․ Use your machine’s model number to search․ Ensure the PDF is compatible with your device․ Verify the manual’s authenticity by checking the publisher and date․ For models like the Brother 1241 or Singer Junior Miss 67B, cross-reference with product details to confirm accuracy․ This step is crucial for proper operation and troubleshooting․
8․2 Verifying the Manual
After downloading, verify the manual by checking the model number matches your machine․ Ensure it includes sections like threading guides, maintenance tips, and troubleshooting․ Look for the manufacturer’s logo and contact information to confirm authenticity․ Review the table of contents to ensure all necessary topics are covered․ Cross-reference with the manufacturer’s website to avoid using unauthorized or outdated versions․
8․3 Saving and Printing
Save the manual as a PDF for easy access․ Choose a secure location on your device or cloud storage․ To print, use high-quality settings and ensure your printer is compatible with PDFs․ Print only necessary sections to save paper․ Store the printed manual near your machine for quick reference, ensuring you always have guidance readily available when needed․
Congratulations on completing the manual! Mastery of your mini sewing machine comes with practice․ Regular use will expand your sewing skills and creativity, ensuring endless project possibilities․
9․1 Final Tips for Effective Use
For optimal results, always use the correct needle type and thread quality․ Keep the machine clean and well-maintained․ Practice on scrap fabric before sewing actual projects․ Utilize the accessories provided, like zipper feet, for specialized tasks․ Follow the manual’s guidelines for tension and stitch settings․ Start with simple projects and gradually experiment with advanced features․ Regularly refer back to this manual for specific model recommendations and troubleshooting tips․ Happy sewing!
9․2 Importance of Regular Maintenance
Regular maintenance ensures your mini sewing machine runs smoothly and prolongs its lifespan․ Clean the machine after each use to remove dust and debris․ Lubricate moving parts as recommended in the manual․ Check and replace needles regularly to prevent breakage․ Store the machine in a dry place to avoid rust․ Proper care will keep your machine reliable and ready for all your sewing projects․
9․3 Resources for Further Assistance
For additional support, visit the official manufacturer’s website or download the PDF manual․ Contact customer support for troubleshooting or spare parts․ Join sewing communities or forums for tips and advice․ Watch video tutorials on platforms like YouTube for visual guidance․ These resources ensure you maximize your mini sewing machine’s potential and resolve any issues efficiently․
